A few weeks ago I wrote about digital camera terminology. I expected some readers may have skipped reading that to find something more advanced, however, I received lots of comments and some good discussions on terminology I had not included, supporting my contention that many photographers are perplexed at the new jargon.
My article was in response to a customer confused about how to discuss her camera. However, this week I was reminded again that many photographers aren’t only confused with pixels, resolution, and bit depth, but also basic camera functions.
A photographer that had recently taken a local photography class complained to me, “I don’t really understand what the meter does, or how I would use it.”
The instructor had pointed out how to select the different camera modes, but neglected to include why one might select one over another for particular subjects. He told me the class ignored Manual mode, and left him thinking that only the three automated modes were worth using. The word exposure was only mentioned in passing when referring to those automated modes, and guidance concerning the camera’s meter, and how to effectively use it didn’t seem to be part of the class.
I told the photographer that the meter is the measurement tool that allows users to control light, and suggested using the Manual mode as an easy way to access the two important camera mechanisms, the Shutter and the Aperture, to increase or decrease the amount of light reaching the sensor.
I explained that the Shutter blocks light from the sensor until the shutter release button is pressed, then it quickly opens and closes. Setting the camera’s shutter speed controls the length of time light reaches the sensor.
The Aperture is an opening that lets light pass through the camera’s lens and is measured in f-stops. In actuality, it is a hole (aperture) that photographers control by opening it wider (wider aperture) for more light, and closing (smaller aperture) for less light, similar to the pupil of our eye.
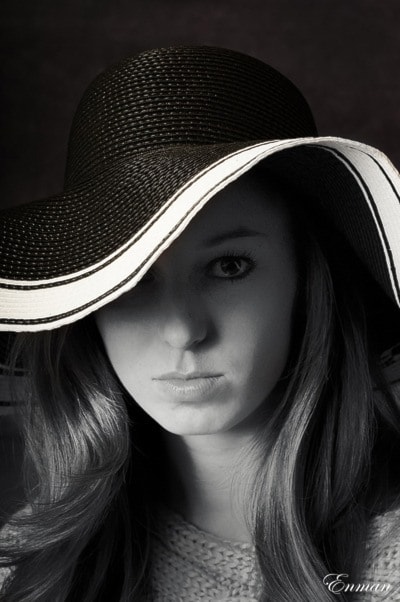
Photographers can use the meter to determine under-exposure or over-exposure of their subjects, for example, I might want to slightly under-expose a highly reflective, white gown on a bright sunny day, or conversely, brighten it up on a heavily overcast day.
In both instances I would use the manual mode to check a particular subject’s exposure with my camera’s meter, especially underexposed areas or subjects wearing a black suit.
To sum this all up, photography is all about reflected light and my recommendation to that beginning photographer was to pay attention to the camera’s meter and start using the Manual mode when he decides it is best for the job at hand.
The camera is a tool with many functions, and one is never limited, and can choose as the situation demands.
Learning to use the camera’s meter and getting comfortable using manual exposure mode to manage shutter speed, and/or the aperture settings gives the advantage of full control without as many chances of the camera being fooled by unexpected changes in light. It gives optimal command, when needed, over the amount of light that still shows details in both the shadows and the highlights, allowing mastery over how photos are viewed and interpreted.
These are my thoughts for this week. Contact me at www.enmanscamera.com or emcam@telus.net. Stop by Enman’s Camera at 423 Tranquille Road in Kamloops. And if you want an experienced photographer please call me at 250-371-3069. I also sell an interesting selection of used photographic equipment.